Ideas For Displaying Succulents On Driftwood
Succulents and driftwood are a winning combo, just like peanut butter and jelly. You can find driftwood in a myriad of odd shapes and sizes, add succulents to it and you’ll get a stunning and fun piece of living art. When I was living in Santa Barbara, I collected shells and rocks from the beach to use as ground cover in my garden.
Then, my attention turned to driftwood which I used for my various crafting projects – you’ll see some of them below.
This post and video is a compilation of some of the most fun succulents and driftwood displays I’ve found around during nursery visits as well as some I’ve created.
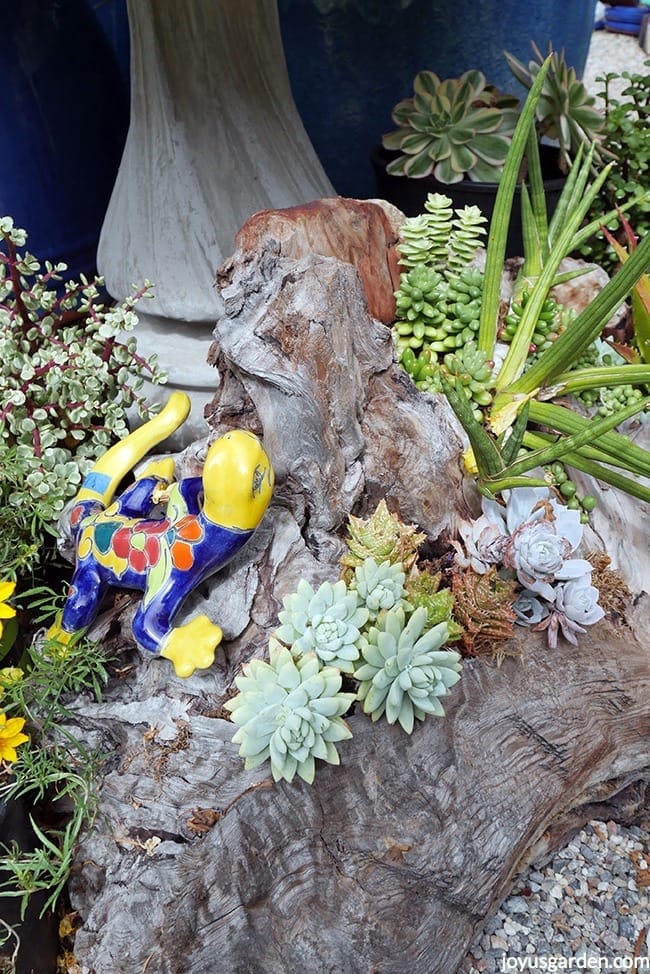
Big driftwood pieces can be added to any corner of your garden as a fun accent. You can inject a pop of color by adding something fun like this Talavera lizard.
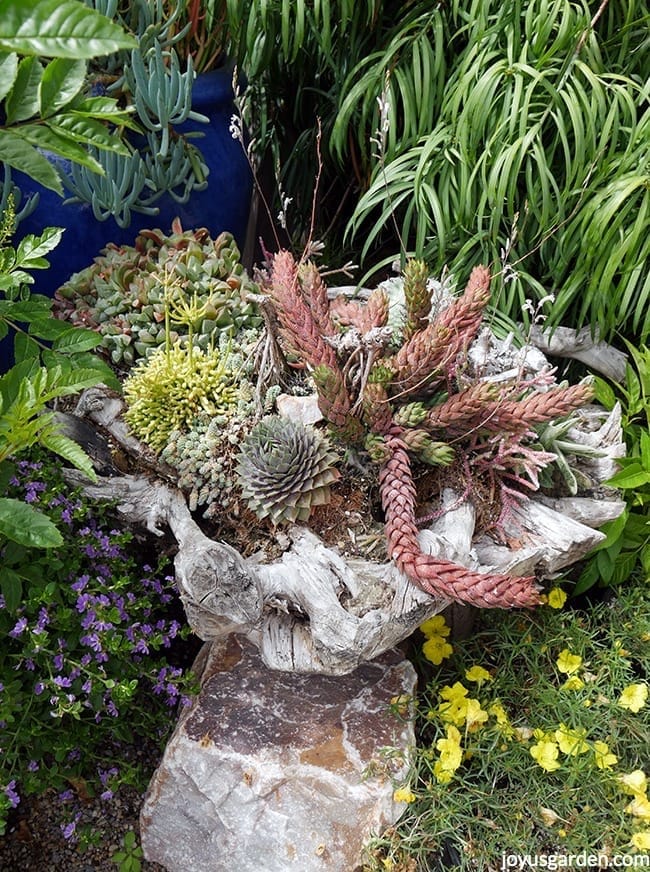
Or, like in the piece pictured above, you can add color using a pink succulent. It adds color as well as an interesting & playful shape.
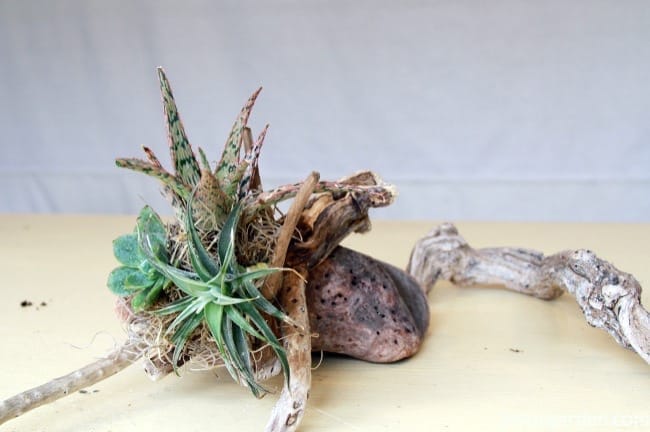
You can create hanging pieces from small, odd-shaped pieces of driftwood & give them away as presents.
Here are a few easy DIY succulent & driftwood arrangements you can put together in no time at all.
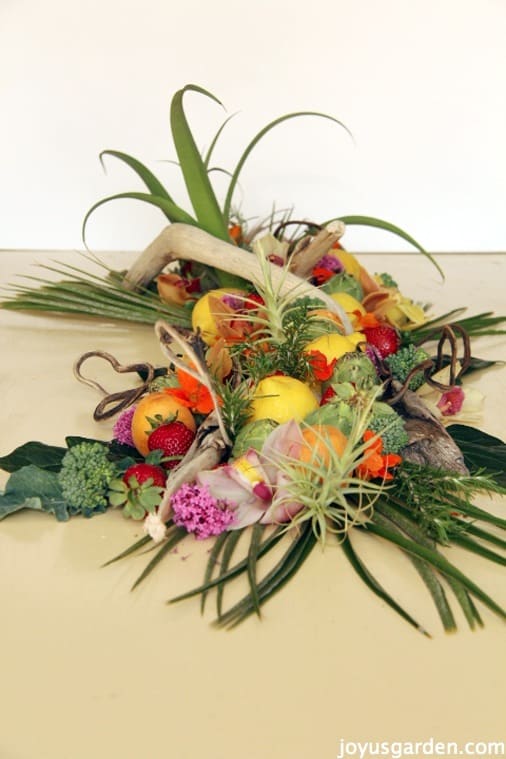
If edibles are your thing, then a centerpiece with farmers market produce, succulents, and flowers might tickle your fancy. They come together in no time flat & really add a touch of nature to your table like nobody’s business. The best part is that you’ll get to eat your centerpiece too! And once the festivities are over, you can reuse the driftwood in other creations.
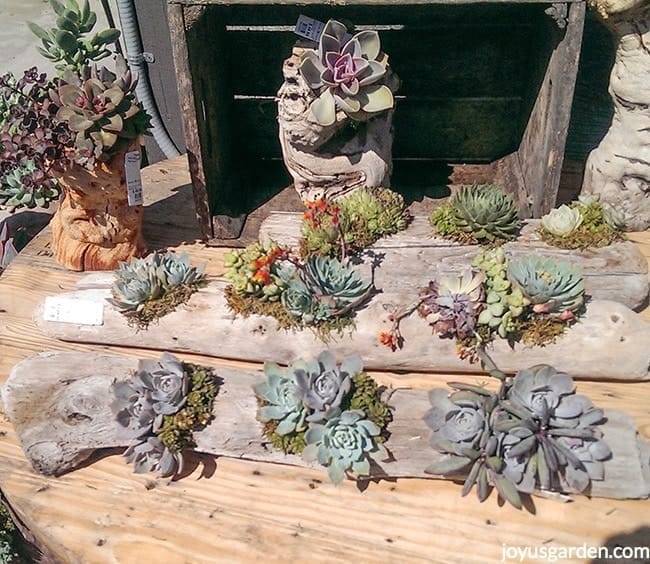
You can align & bunch the succulents throughout. These were done in 3’s – do as many as your driftwood allows!
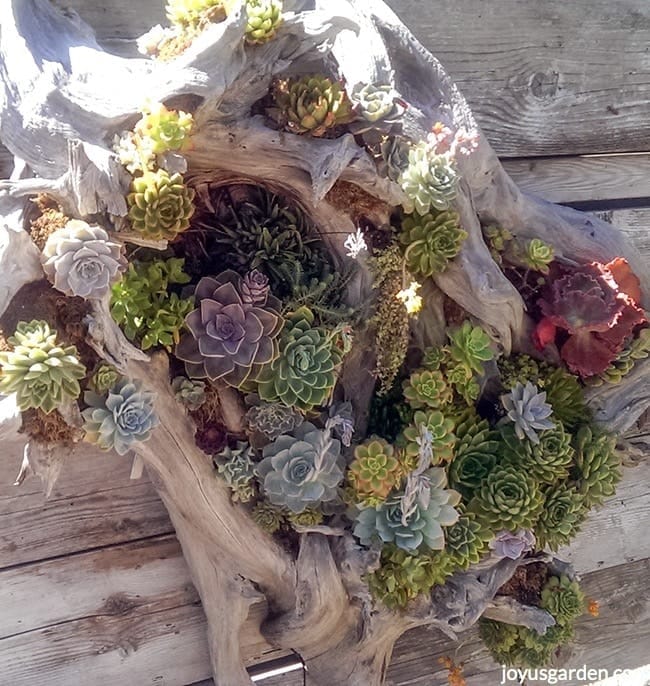
This 1 makes quite the statement – wow!
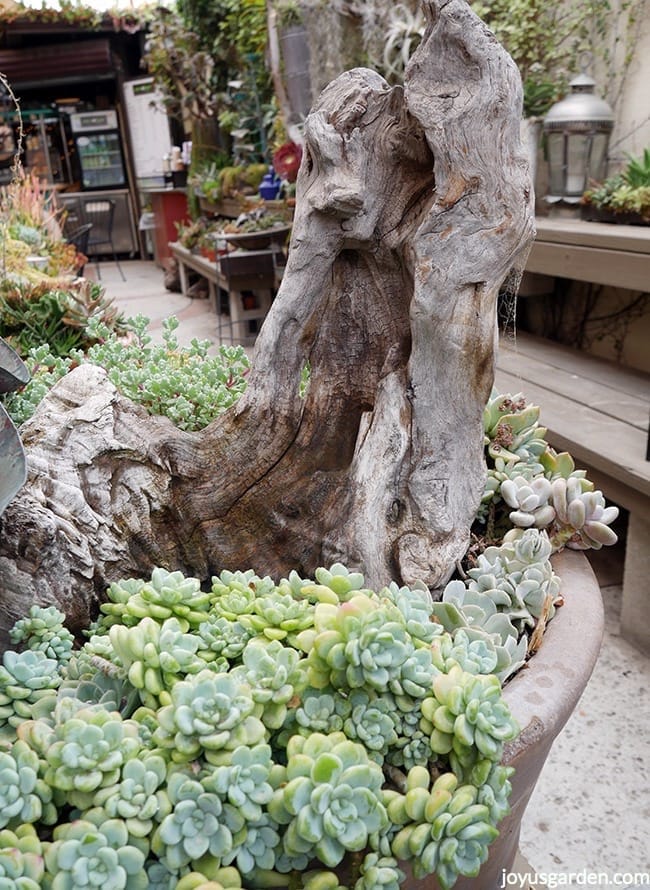
If you rather keep your succulents inside a pot, there are others ways for you to incorporate the driftwood touch. The images above & below are 2 examples of that. The driftwood is added to give some height & extra interest to the display in a traditional pot.
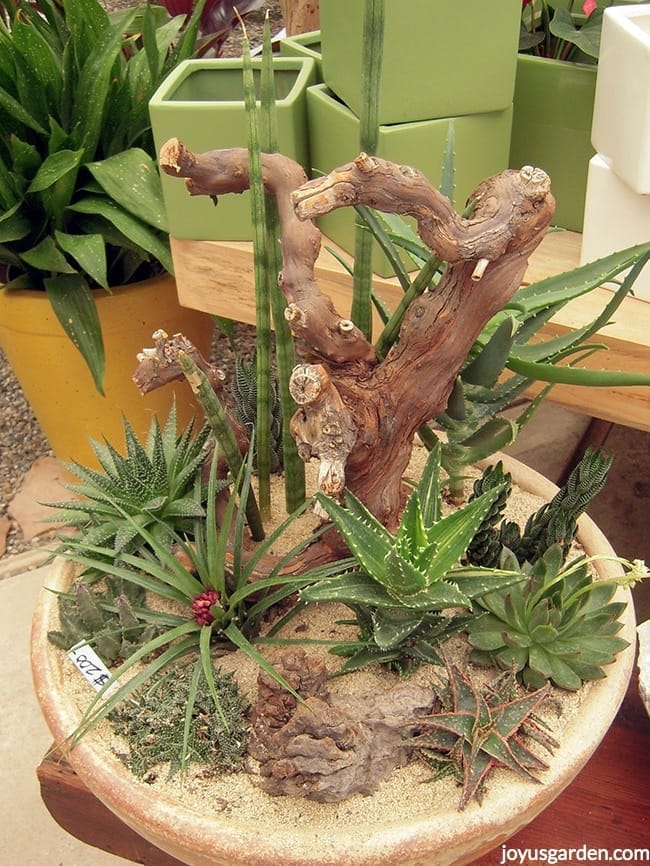
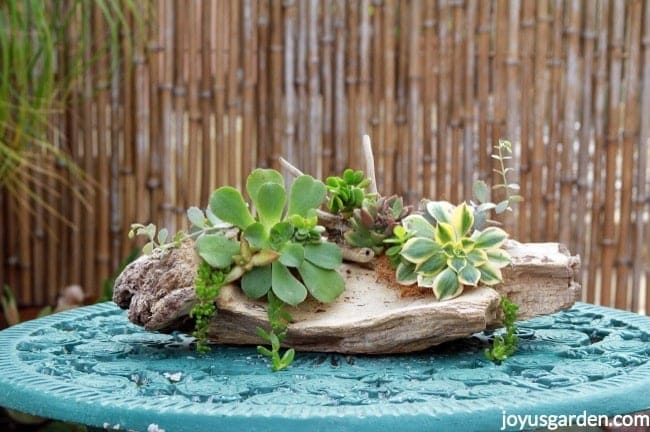
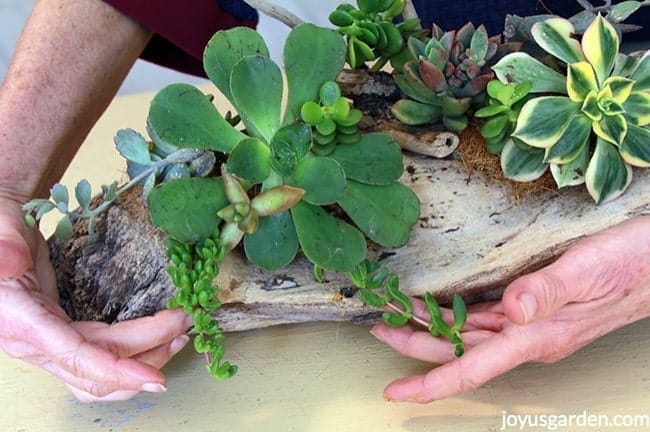
The 2 pictures above & the 1 below are DIY succulent & driftwood arrangements (1 for the table & 1 to hang) that I’ve created. See the step by steps plus the materials you need to make these designs. I’ve already done a post and video on attaching succulents to driftwood so I have you covered there. Once the foundation is done, it’s on to the fun & creative part – attaching the succulents & creating your living masterpiece.
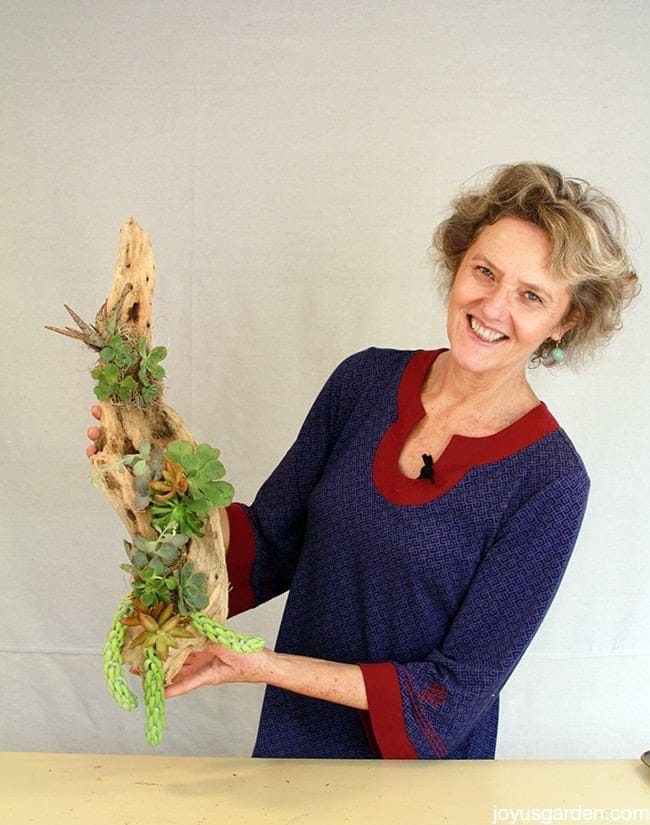
Yes, you can hang this one from a wall & let the Burro’s Tail flow down for a touch of interest.
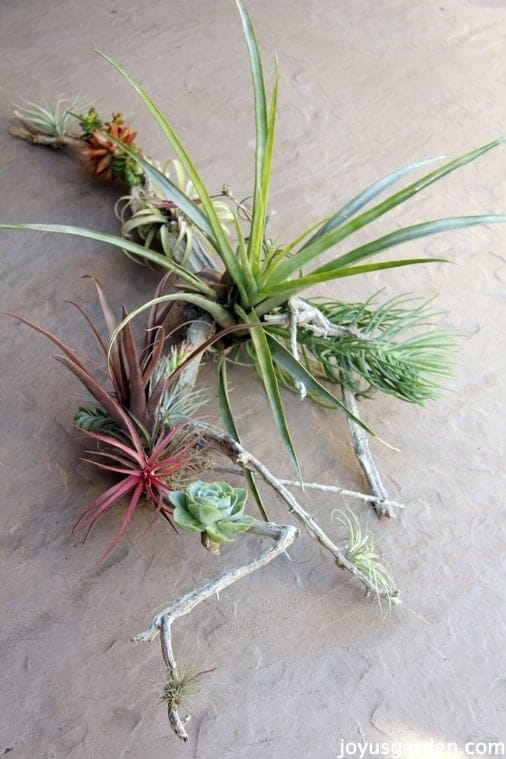
If you’re up for a challenge, then check out this Piece Of Art With Driftwood, Tillandsias & Succulents. I’ve balanced out the different colors of the tillandsias & succulents so there’s interest up & down the whole piece. This piece rests beautifully on a table or hangs easily on a wall as it is nice & light. I wanted large portions of the wood to show because it’s interesting sans the living adornments.
Watch the video for even more Ideas For Displaying Succulents On Driftwood. The very last 1 is my favorite as it’s quite impressive and stunning:
I hope this compilation of ideas for displaying succulents on driftwood inspires you to make one of your own!
Happy creating,


