How To Create Succulent Planters From Vintage Books
Succulents are a truly loveable group of plants. They come in all shapes and sizes and are beautiful to look at while being easy to grow. Perfect for any person with the faintest hint of green on their thumb.
In this tutorial, I’ll show you how you can create a unique succulent planter from a repurposed old book. Here is everything you’ll need to get started:
Materials:
- Hardcover vintage book
- PVA
- Twine or hessian ribbon
- Wax (optional)
- Wax stamp (optional)
- Plastic bag
- A succulent!
Tools:
- Drill
- Hole Saw bit
- 2 Clamps
- Sharp knife
- Paintbrush
Creating Succulent Plants from Vintage Books
1.) Find A Vintage Hardcover Book
If you’ve got an old, damaged or out of date book that will never see the likes of a fresh pair of eyes again, why not repurpose this into a succulent book planter? If there’s nothing around the home that you want to use, then the next best place would be to check out your local thrift store.
When looking for a book to use, it’s imperative that it is a hardcover book. It will make life a lot easier – trust me. Also, look for books that are thick enough so that a large enough hole can be cut in the center to house your succulent. Anything greater than 1 inch is recommended.
2.) Glue The Pages Shut
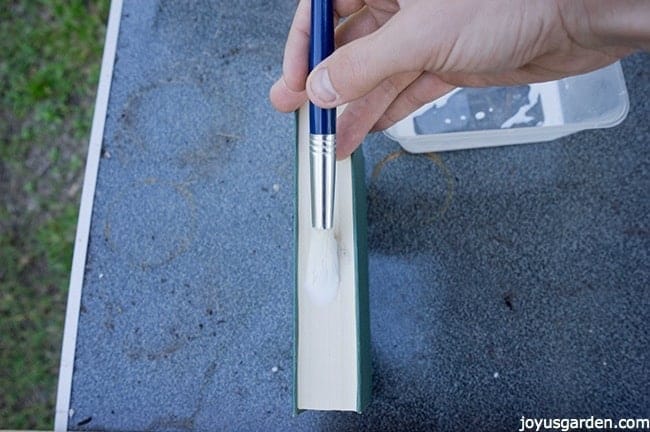
Get a small container and mix about 1/3 water to 2/3 PVA glue. This will help the pages to soak up a lot of the glue. Brush the glue mixture on each outside edge of the pages making sure to apply liberally! You should give it a few coats to ensure the pages will bind strongly.After the last coat, leave the book to dry overnight. Place something heavy atop to keep the pages firmly pressed together.
3.) Prepare For The Cut
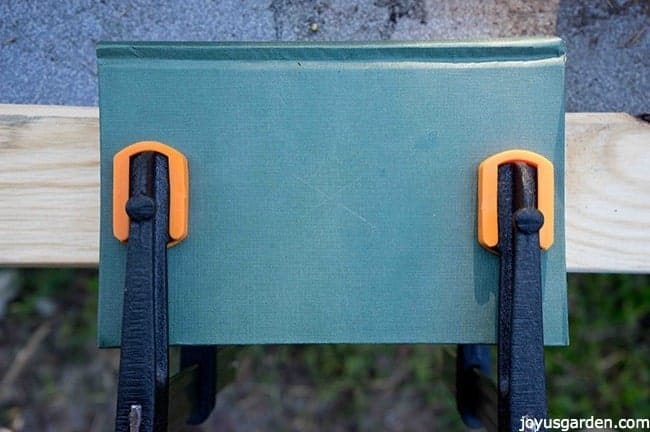
Start by marking where you would like to make the hole in the book. Some books look nice with an offset cut, others look just fine with it centered. In this tutorial, I’m going with a centered cut. I simply use a straight edge of one of the clamps (you could use a ruler or whatever you have handy), line up two opposite diagonal corners and mark a small section near the center. Do this for the opposite diagonal. It’s important to make the mark small enough that it will fit in the hole we will cut, so that it will be removed, too large and you will have ruined the book!
Before clamping the book down, take a look at your hole saw bit to make sure you give enough space for it fit between the clamps. Make sure you are using an old wooden work bench or place something under the book which will accommodate the drill bit passing through the book – you don’t want to unnecessarily damage a table.
4.) Make The Cut
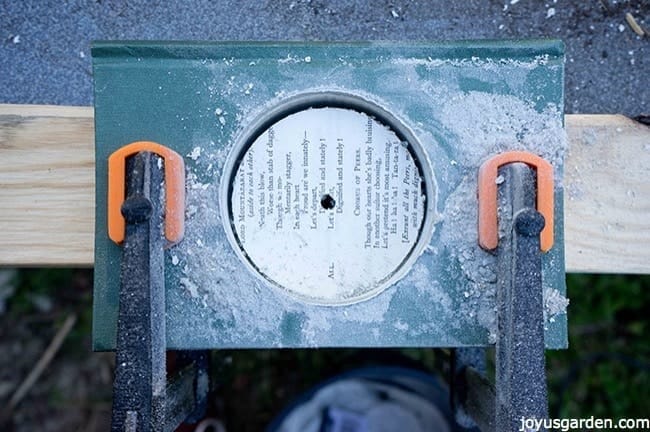
With drill in hand start to make the cut into the book. Once you cut through the cover stop to remove it from the hole saw bit as it can slow cutting down later. Keep drilling and periodically stop to remove the pages that have collected in the hole saw bit.
Once you are satisfied with the depth you have drilled (just be mindful not to drill all the way through), prepare the book by tearing out any remaining flimsy pages that have been partially cut through. Give the book a solid dust off to remove any other smaller particles.
5.) Waterproof The Book
There’s plenty of ways to do this, I use some of PVA glue and cut a plastic bag to glue into place. It’s also possible to use any waterproofing material from your local hardware store, like silicon glue or no more gaps. In this method, we start by cutting an oversized circular shape in the plastic bag as compared to the opening in the book. Now brush in very generous amounts of PVA glue into the book opening and push the plastic bag in. It can take a little bit to work it in, don’t be afraid to use more glue.
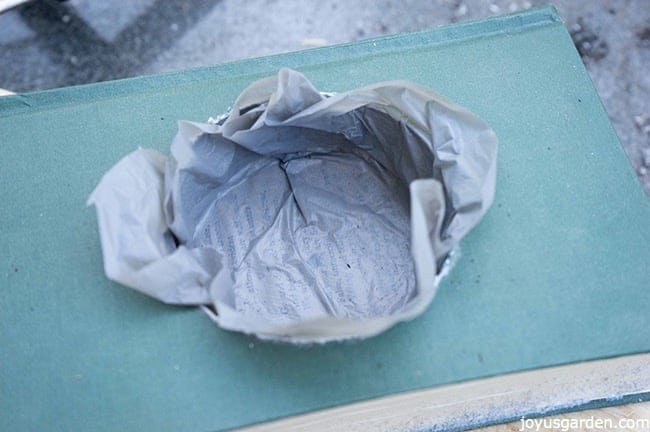
Allowing it to dry will make the next step of removing the plastic easier, although it isn’t necessary. Once it has dried, you can use a sharp knife to cut around the top of the opening to remove any of the bag that is hanging out.
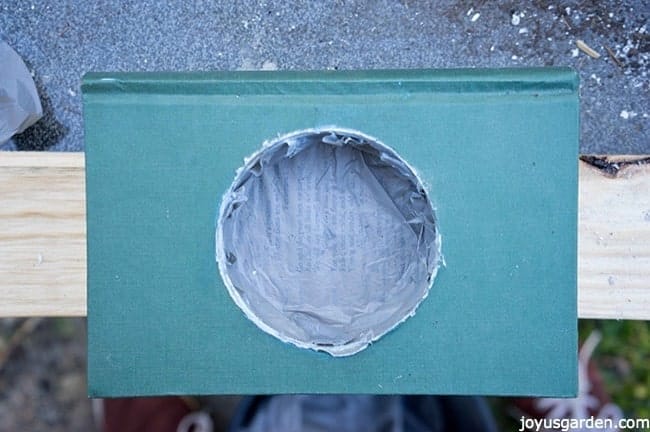
6.) Add Decorations
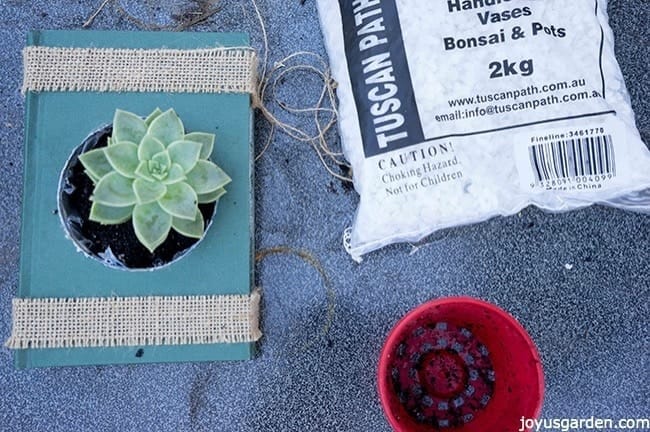
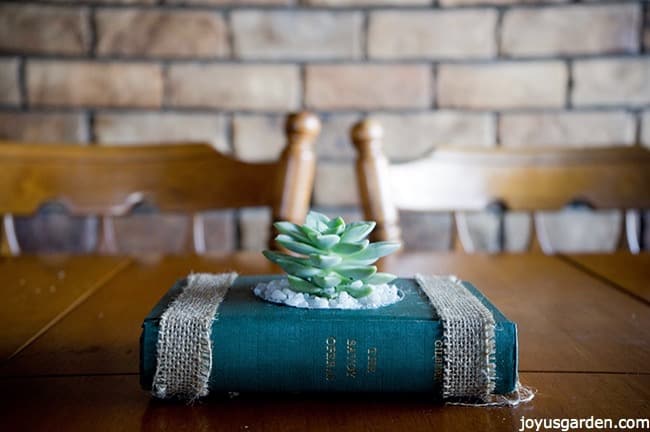
The aesthetic appeal of the book can be boosted with some simple adornments. Wrap some twine around or some hessian ribbon (as I have done) and it is like wrapping on an instant charm. To further compliment this you can add a wax stamp as shown in the example below of another one I have made.
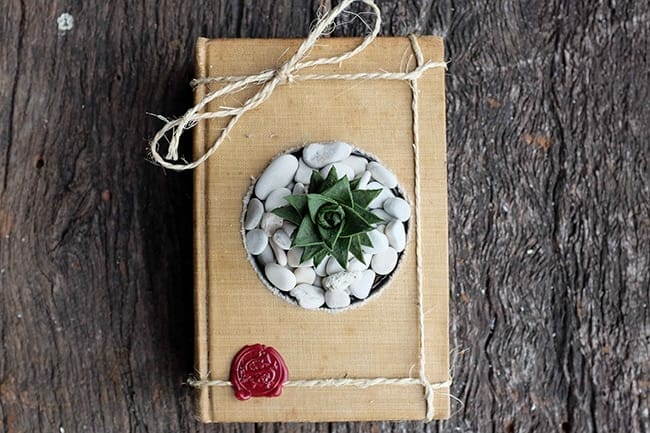
7.) Pot Your Succulent And Display
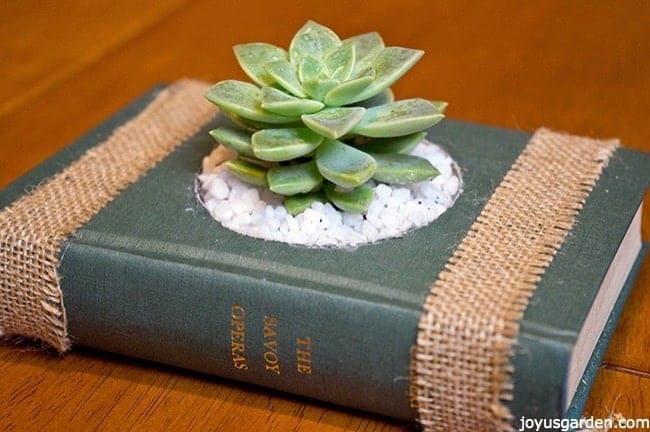
Depending on the size of your succulent’s root structure, tease enough soil out so that it will fit into the opening you have made in the book. Smaller root structures will make it easier to fit into the book, but larger ones are not impossible. Once potted, cover with an ornamental type stone or pebble, white is always a great choice! There you have your very own vintage book succulent planter. A great gift for family or friends, or to enjoy on your own coffee table. Remember there are plenty of different designs you can do with
Once potted, cover with an ornamental type stone or pebble, white is always a great choice! There you have your very own vintage book succulent planter. A great gift for family or friends, or to enjoy on your own coffee table. Remember there are plenty of different designs you can do with
There you have your very own vintage book succulent planter. A great gift for family or friends, or to enjoy on your own coffee table. Remember there are plenty of different designs you can do with this, so experiment and have fun!
Author Bio
Jimmy is a green thumb hailing from Queensland, Australia. When he’s not tinkering on some home-made automated gardening equipment, he’s either making a super-hot sauce in the kitchen or working on his gardening blog at Jimmy In The Garden.
YOU MAY ALSO ENJOY:
10 Ideas For What To Do With Broken Plant Pots
Updating A Decorative Plant Pot With Painting
One Easy Way To Jazz Up A Plain Plastic Flower Pot
A Summer Centerpiece, Beachy Style
This post may contain affiliate links, you can read our policies here.
Absolutely love it! Not all books are worth saving as books and you have turned on into a beautiful piece of living art!
Well thank you – Jimmy did a great job with this project. Very creative! Nell