How to Plant Shrubs: A Step-by-Step Planting Guide
Shrubs are the backbone of any garden. They provide architectural interest, substance, texture, color, and the framework that showcases our favorite perennials and annuals. Whether deciduous or evergreen, there’s a shrub to fit beautifully into almost any garden design. They all have one thing in common, though: the need for a good start in life. Read on to learn how to plant shrubs in the garden so they thrive and grow well for years to come.
Shrubs can be formal or informal, used as privacy hedges, focal points, or foundation plantings along fences and walls. Some are grown for their beautiful foliage, others for their flowers, and many add welcome interest to the winter garden. Shrubs can stay low and spreading or grow 15 feet tall or more, so choosing the right one is important. You want to make sure it’s well-suited to the environment and location where you’re planting it.
Note: I was a professional gardener in the San Francisco Bay Area for 25 years, and have planted many different shrubs, mainly in the 5 and 15-gallon sizes.
This post focuses on planting container-grown shrubs commonly sold in nurseries. I’ve also included a section further down on planting bare-root shrubs.
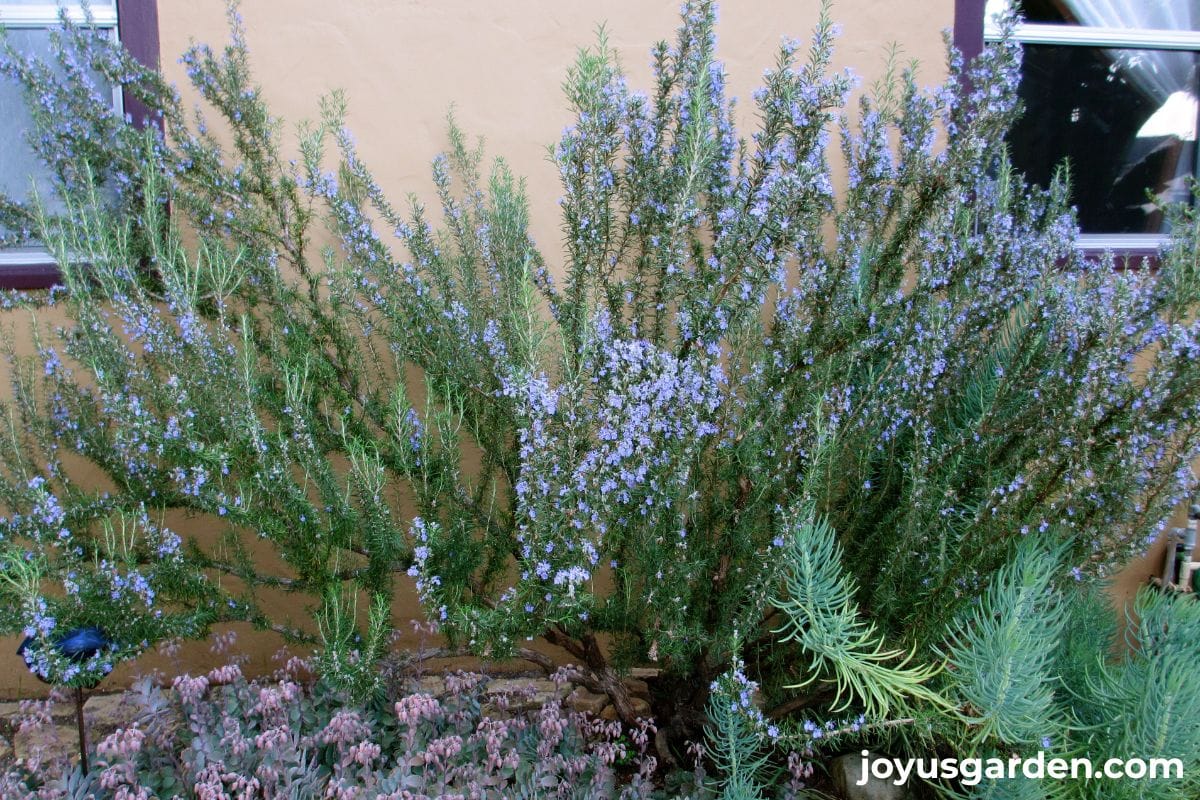
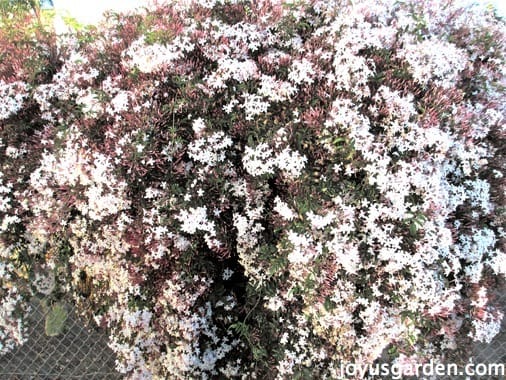
This is the rosemary that grew in my front garden in Santa Barbara, CA. It flowered every winter/spring, & after flowering, I gave it a good prune to keep it from taking over!
A Guide on How to Plant Shrubs
Popular shrubs
I was born and raised in New England, lived in California, and now call the Arizona desert home, so I’ve seen and grown a wide variety of shrubs over the years. Here’s a sampling of popular shrubs from those different regions: boxwood, myrtle, camellia, viburnum, hydrangea, dodonaea, hibiscus, azalea, rhododendron, privet, lilac, holly, yew, spruce, spirea, and rosemary.
Container size
Since this post focuses on planting container-grown plants, I thought it would be helpful to touch on nursery container sizes briefly. Shrubs are commonly sold in standard sizes such as 1, 3, 5, 7, 15, 20, and 25-gallon containers, as well as larger ones in 24″ and 36″ boxes.
Most home gardeners will likely plant shrubs in the 1 to 15-gallon range. One-gallon shrubs are the least expensive, but they take more time to fill in and mature. I find they work well for low edging, knot gardens, and containers.
Larger shrubs give a more immediate look in the garden, but they cost more, are heavier to plant, and require more watering as they establish.
When to plant shrubs
It depends on your climate zone, but spring and fall offer the moderate temperatures that allow roots to grow without the stress of extreme heat or cold.
In general, shrubs establish best when planted in the fall, as long as they have time to settle in before the first freeze. Spring is fine too, and it’s when nurseries usually offer the best selection.
Summer planting can be more challenging due to heat stress. I planted shrubs along the California coast year-round because the temps were moderate and the soil was workable, except during long rainy spells. Here in the desert, where summer days reach 110F, I plant shrubs in late winter/early spring, but prefer to plant them in the fall.
In a nutshell, spring or fall planting makes it easier for the plants to settle in. Fall is a favorite time to plant shrubs and trees. Some people plant in the summer, but shrubs will need more watering, and they may take a bit longer to settle in.
Adding nutrients
If your soil is healthy, drains well, and contains some organic matter, you don’t need to add any at planting time. Instead, you can topdress with a local compost in spring. Over time, it will gradually add nutrients to the soil while also helping keep the root zone cooler during hot weather and holding in moisture during dry periods.
Here in the desert, unless I’m planting native plants or cacti, I add compost to our native soil because it lacks nutrients. I buy a compost blend from our farmers market and mix it into the planting soil at a ratio of about 3/4 native soil to 1/4 compost. After planting, I apply a 2–3″ layer of compost on top as mulch.
Don’t overdo soil amendments in the planting hole. You want the roots to eventually grow out into the surrounding native soil, not stay in a rich planting mix.
Preparing the planting hole
Getting the planting hole right makes all the difference in how well your shrubs take off. Shrubs require planting holes at least twice as wide as their root balls, with the soil at the bottom loosened to promote proper root establishment. I work the soil at the bottom to break it up a bit and improve drainage. Remove any roots or larger rocks that might be in the soil to improve drainage and remove obstructions like larger stones.
The hole depth should match the height of the root ball, not deeper. When you place the shrub in the hole, the top of the root ball should be level with or slightly above the surrounding ground surface.
Always thoroughly soak the hole with water before you plant.
How to prepare the rootball
Shrubs have often been in their containers for a while, and the root systems are tight. Root ball massage is non-negotiable for container-grown shrubs because circling roots will continue to do so unless loosened at planting time.
You want to massage the roots so they can easily spread and grow into the existing soil instead of staying in a tight wad. If the root system is really tight, I make a few cuts on the bottom and sides of the root ball. Don’t worry, the majority of shrubs can take it. If you notice any dried-up, dead, or damaged roots, prune them off.
How far apart should you plant shrubs?
Most shrubs sold in retail nurseries come with a plant tag that lists their mature height and width, and that’s the best . You’ll also see signs marking the size and growth habits of the shrubs. If you’re unsure, a knowledgeable nursery associate can help answer spacing questions.
It’s important to give shrubs enough room to grow and develop naturally, especially if they’ll be used as specimen plants or focal points in the garden. Crowding shrubs too closely can lead to bad form, poor air circulation, extra pruning, and plants competing for water and nutrients.
If you’re planting a privacy hedge, spacing is usually based on the shrub’s mature width. For example, if a shrub grows 6′ wide, you can plant it about 6′ apart, measuring from center-to-center (trunk to trunk). If you want a fuller hedge more quickly, you can space them a bit closer, but I wouldn’t go closer than about 4′ center-to-center for a shrub that size.
How to plant shrubs: step by step
Plant selection is key — choose the right shrub for the right spot. If you’re new to gardening in your area, you may want to have your soil tested first. You can do this through your local cooperative extension office or with a basic soil test kit purchased online.
Make sure your shrubs are well-watered before planting. You don’t want them to be stressed or dry when going into the ground.
Dig planting holes at least twice as wide as the root ball. Loosen the soil at the bottom of the hole, you’ll see how I do this in the video. Remove any large rocks or old roots from the area.
Fill the holes with water. If you’re in a climate with regular rainfall and the ground is thoroughly moist, you can skip this step.
After the water has drained, add a layer of compost to the bottom of the holes. The amount will vary depending on the size of the holes and the grow pots. Water again until the compost looks hydrated.
Most shrubs have strong, tight root balls. You’ll need to massage the roots or make a few cuts, especially along the bottom, to loosen them so they can spread and grow more easily into the surrounding soil.
Squeeze the pots to help slide the shrubs out. If they’re being stubborn, gently step on the sides of the pots, you’ll see this in the video. 99% of the time, this works like a charm. If the root ball still won’t come out, cut the grow pot away.
Place the shrubs in the holes and turn them until you find their best sides. Plants have good sides just like we do!
In the top 2–3″ of soil, work in a little compost. I always use one containing worm compost, it’s my favorite amendment. How much you add will depend on your soil composition and how rich and well-draining your native soil already is.
Cover lightly with native soil, and top with a couple of inches of compost. Make sure the top of the root ball sits level with, or slightly above, the surrounding soil line. You don’t want the shrub planted too deeply.
Remove any damaged, weak, or broken branches either before or after planting.
Lastly, water your shrubs thoroughly to help settle the soil around the rootball.
Other planting guides you’ll find helpful: planting perennials, planting bougainvillea, planting bougainvillea in pots, planting lavender, planting aloe vera

Care after planting
New plantings need attention. It’s best not to plant your shrubs and then head off on vacation a few days later! Keep an eye on your new plants to make sure they’re settling in without too much stress.
Give them a thorough watering right after planting, and keep them watered while they’re getting established. Water the soil deeply so it reaches the roots at the bottom of the hole. Consistent moisture during this time helps them develop strong, healthy root systems so they can really thrive.
For the first few weeks, pay close attention to watering. How often will depend on temperatures and rainfall. As a general guide, water every 3–5 days in spring, every 2-4 days in summer, and every 5-7 days in fall.
Prune off any dead or damaged branches as needed.
Planting bare-root shrubs
The time to plant them is in the fall or early spring, when they’re dormant. Like balled & burlaped shrubs, avoiding planting during extreme temps.
Dig the hole twice as wide as deep. Make a mound (cone-like) with the native soil in the center and spread the roots over it. Fill in with soil, and if you’re using it, compost. Water in well.
Planting balled & burlapped shrubs
Honestly, I’ve never done it before. Everything I write about is from experience. Like bare root, the best time to plant is while they’re still dormant, in early spring or late fall. One thing I can tell you, balled & burlapped shrubs are heavy, so you’ll need help!
Planting shrubs in containers
Planting in containers is often easier because the soil mix is lighter and easier to work with. Be sure to use a mix that’s made for containers and suited to the type of shrub you’re planting.
Most of what I’ve covered in this post applies to planting in pots, with this other exception. You won’t need as much compost, since potting mixes usually already contain some nutrients and amendments.
Make sure your pot has drainage holes, as shrubs don’t like to sit in soggy soil and need the excess water to flow out.
Also, pay close attention to the size the shrub gets because you need to give your plant room to grow. For example, if you’re planting a Limelight Hydrangea that gets 6′ x 6′, you’ll need to plant it in a container that’s at least 20″ x 20″.
A trick I like to do is fill in with colorful annuals while the plant grows to its mature size. If the shrub is small when you buy it, you can start with a smaller pot, but plan on repotting it into a larger container as it grows.
Planting Shrubs FAQs
Should I add fertilizer to the hole when planting my shrub?
I don’t. Newly planted shrubs spend time establishing their root systems, and strong fertilizers can burn the tender new roots as they begin growing into the native soil.
Instead, I prefer using compost when planting. It improves the soil and adds nutrients gradually rather than all at once. Compost also helps the soil hold moisture while still allowing good drainage.
Once the shrub is established and actively growing, you can decide if fertilizer is needed based on how the plant looks. Late spring is a good time to fertilize.
What should I do if the root ball falls apart when I remove it from the pot?
Well, that eliminates the need for massaging the root ball! This happens when plants are overly dry or have been recently potted up at the nursery. As long as the shrub has a healthy amount of roots, it’ll be fine.
Gather the loosened roots and soil, and carefully put them in the hole. Plant as instructed above, making sure the root ball sits at the proper height, and water well.
Is it necessary to stake newly planted shrubs to keep them stable?
No. Most shrubs won’t need it unless you’ve planted them in a very windy spot, the rootball is weak, or they’re top-heavy. Some shrubs, like hibiscus, come in tree form and will require a stake or two while getting established.
I planted a Slim Bottlebrush in my garden three years ago and supported it with two stakes because the top was flopping in the wind, which we get a lot of in spring and during monsoon season here in the Arizona desert. I’m planning to leave it staked for at least another year or two until it becomes steadier and stronger on its own.
What are the signs that a newly planted shrub is stressed versus just adjusting?
It’s normal for a newly planted shrub to go through a short adjustment period. You may notice a little drooping or a few leaves dropping during the first 2-4 days as the plant settles in.
Signs of actual stress include wilting that continues beyond the first couple of days, excessive leaf drop, yellowing leaves, brown leaf edges, or branches beginning to dry out.
Video Guide:
For my small patio garden, I chose Dwarf Olive, Dwarf Myrtle, and Lantana “Dallas Red” because they all stay relatively small, can take sun and heat, and require little water. These last two things are very important here in the Sonoran Desert!
I planted my shrubs in 1-gallon pots, because they were going into a small space. If you want yours to be larger from the start, then buy them in 5- or 15-gallon pots.
Conclusion: Planting shrubs starts with a few basic steps. When a new shrub is planted at the right time, the planting hole has been properly prepped, and the soil is well-drained, the plant has a much better chance of establishing quickly. A wide planting hole gives the roots room to spread, and a loosened root ball encourages new root growth into the surrounding soil.
Every garden has different soil conditions, climate challenges, and watering needs, so there’s never a one-size-fits-all approach. A good rule of thumb is to check the soil regularly and water as needed while the shrub is establishing. Pay attention during the first growing seasons so your new shrub can settle in and give you years of beauty, structure, form, flowers, or privacy in the garden.
Here’s to healthy roots, happy shrubs, and a garden you’ll enjoy for years to come!
Happy gardening,

- About the Author
- Latest Posts

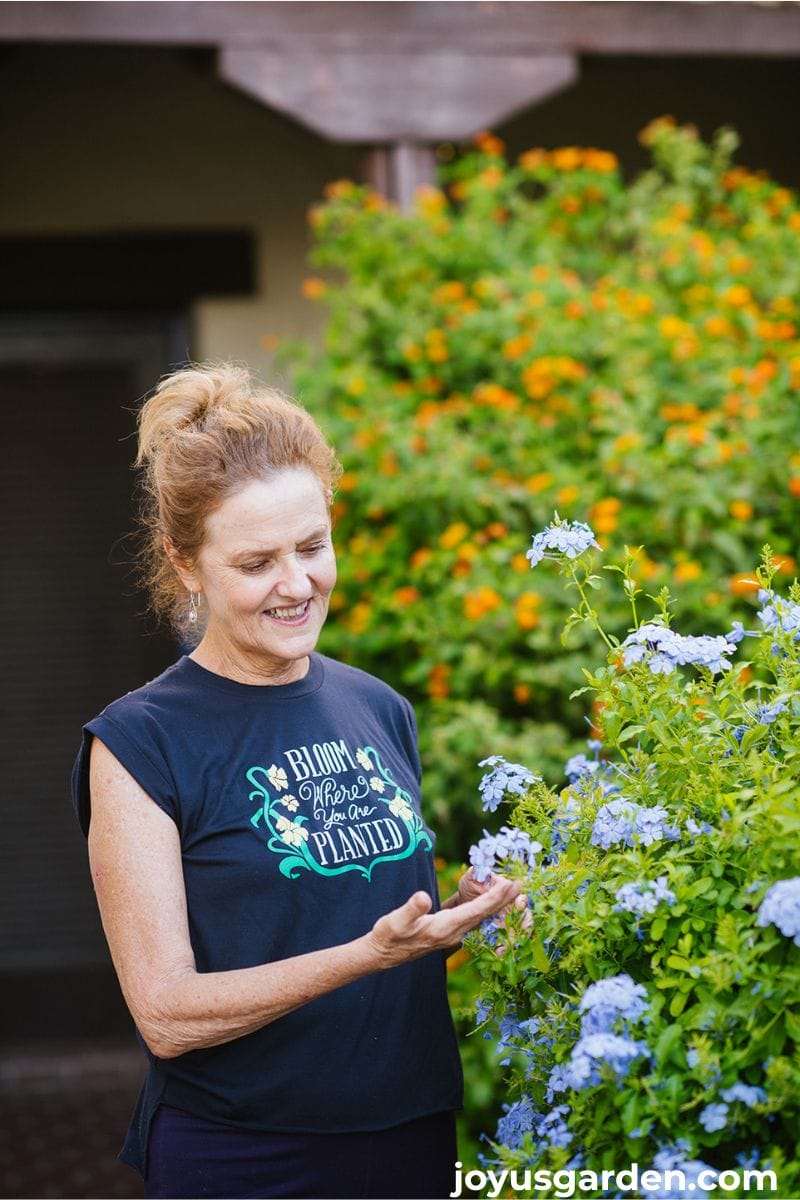
Nell, the founder of Joy Us garden, was born into a gardening family and grew up in Connecticut’s countryside. After living in Boston, New York, San Francisco, & Santa Barbara, she now calls the Arizona desert home. She studied horticulture & garden design, working in the field all her life. Nell is a gardener, designer, blogger, Youtube creator, & author. She’s been gardening for a very long time & wants to share what she’s learned with you.
I’ve just recently moved to Green Valley, AZ, and found this video while searching for how to plant a bougainvillea. It’s very informative. Thanks so much. I’ll be searching for more from you as we design the garden in the back yard.
Hi Cathy – Oh great! I’ve done many posts on bougainvilleas. Here’s one on how to plant them: https://www.joyusgarden.com/how-to-plant-bougainvillea-to-grow-successfully-the-most-important-thing-to-know/ Hope that helps, Nell
Oh my goodness. I was searching for information on planting new bougainvillea and came across your site… a fellow Arizonian no less 🙂 Your website has been so much help. Thank you!
Hi Nancy – you’re most welcome! I’ve grown bougies on the CA coast & now here in the Arizona desert. Can beat them for color. Here’s a post I did on planting them in case you haven’t seen it: https://www.joyusgarden.com/how-to-plant-bougainvillea-to-grow-successfully-the-most-important-thing-to-know/ Nell