Easy Tips to Plant Perennial Plants So They Thrive
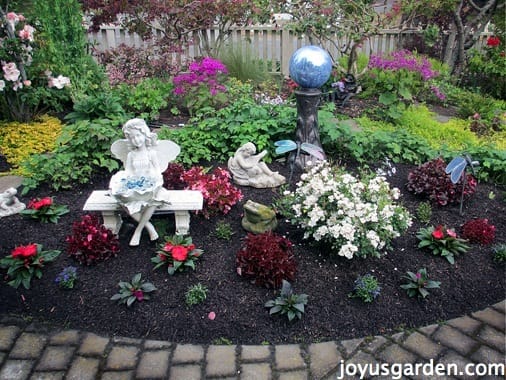
Perennials can provide quite a show and add color, form, and texture to the garden. When you plant perennial plants the right way, most of them bloom part of or throughout the season, giving us something to ooh and ah about.
There are so many perennial plants sold on the market. They vary in size, exposure requirements, bloom season, flower color, and so on. But the one thing they all have in common is the need for a good start in your garden.
I was a professional gardener in the San Francisco Bay Area for 25 years, and have planted thousands of perennials. Here’s how to plant them to grow successfully.
Plant Perennial Plants: How to Get Them Off to a Great Start
What is a perennial plant?
A perennial plant can be herbaceous, woody, hardy, tender, or evergreen, and it lives for two or more years. The ones I’m referring to here aren’t trees or shrubs, but mainly herbaceous perennials that die back in fall and return from the roots in spring, along with woody perennials that are pruned in fall or spring. They’re considered the backbone of the garden.
They’re commonly sold in 4″ and 1-gallon pots at garden centers. Many benefit from pruning or deadheading during the growing season to encourage more blooms, and a cutback at the end of the season helps make way for fresh new growth next year. Unlike annuals, you plant them once and enjoy them for years.
Popular perennial plants
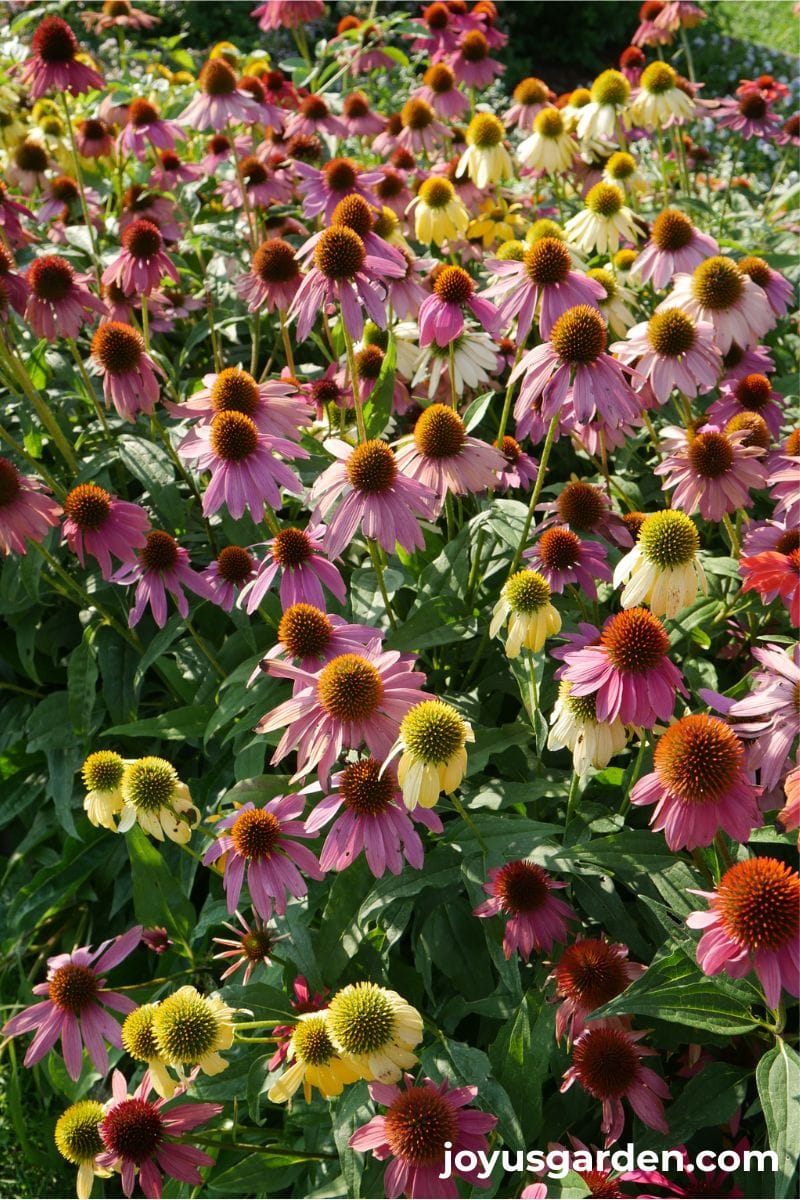
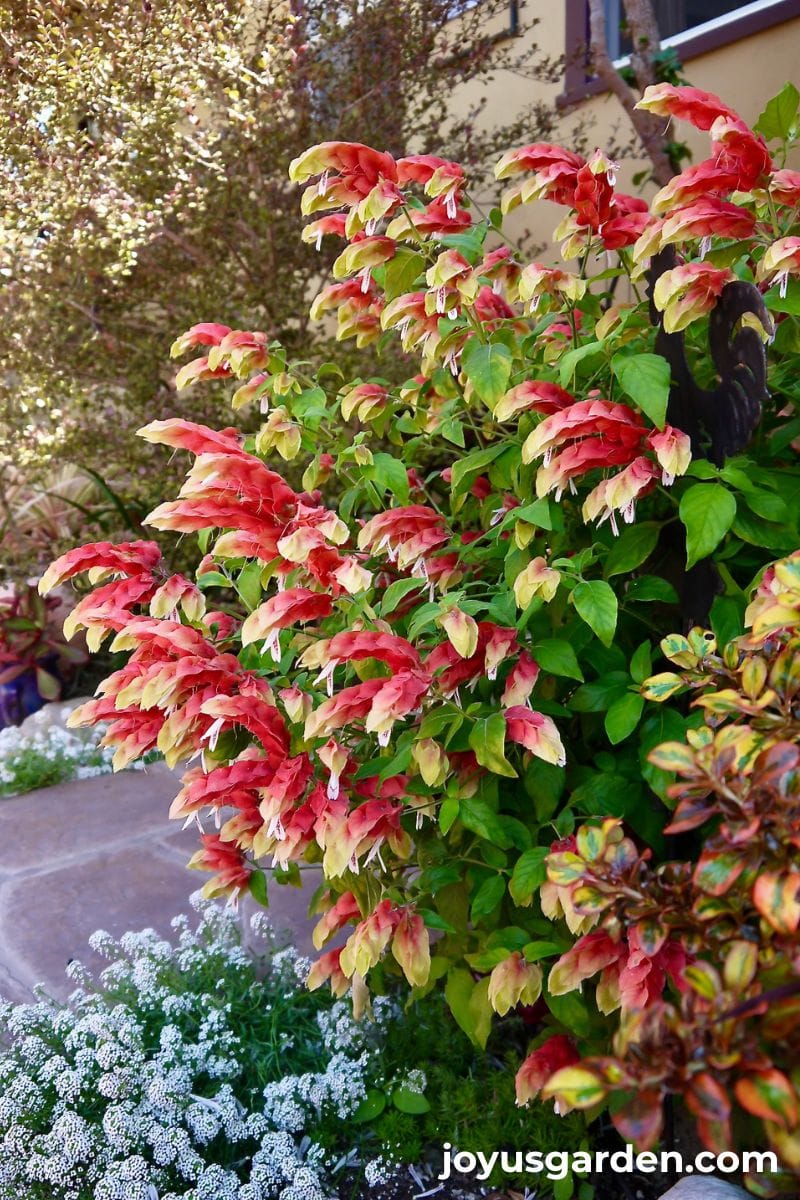
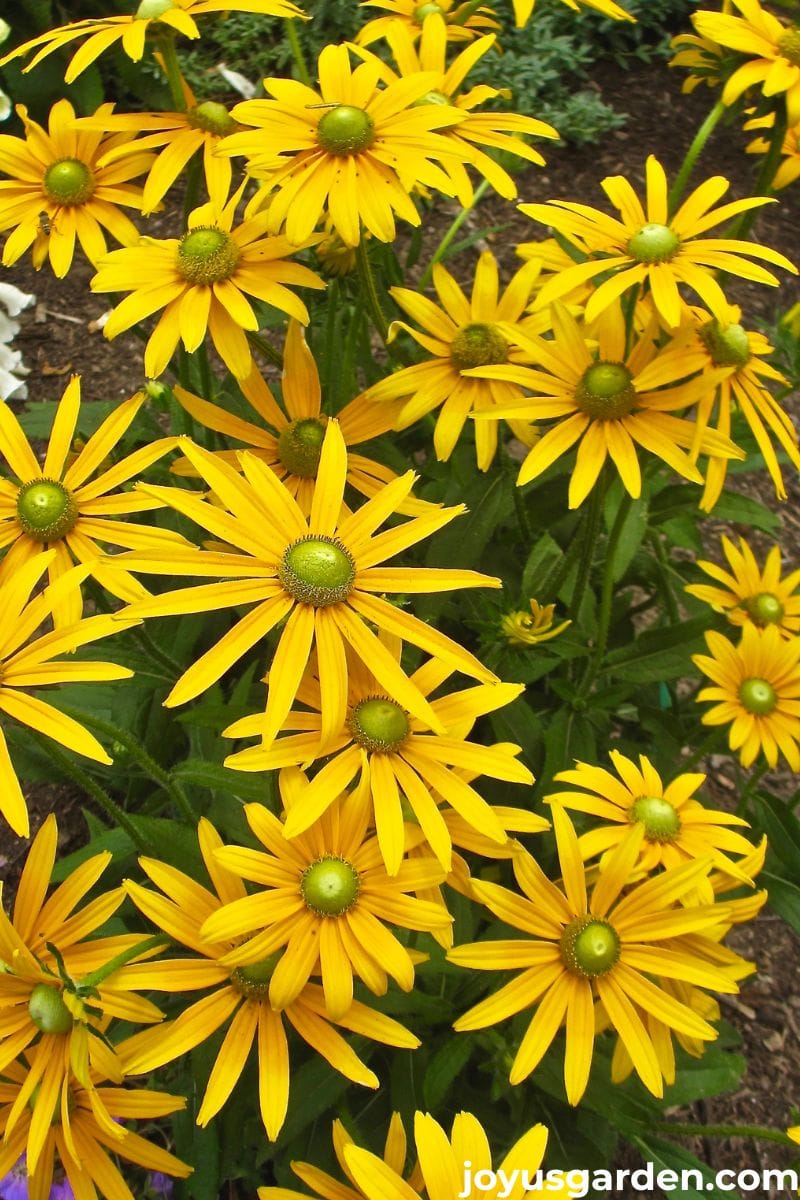
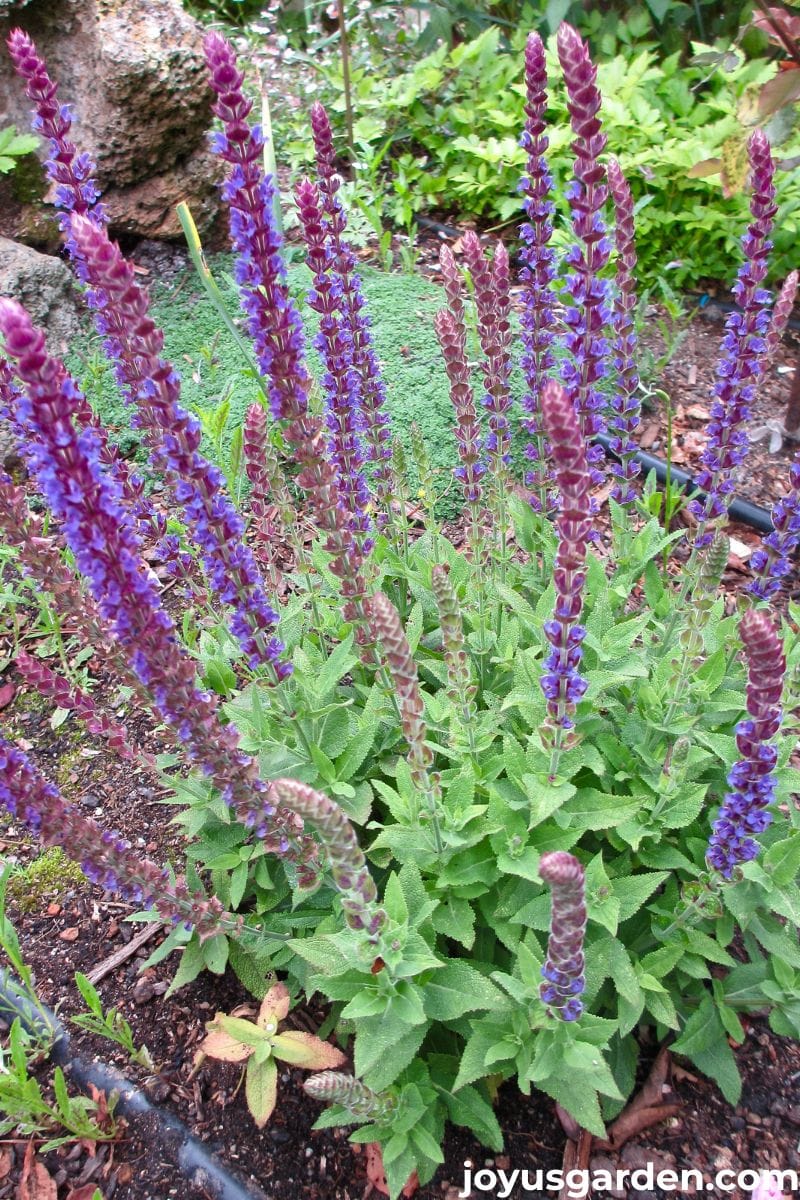
There are many; some are grown for their beautiful flowers, and others for their ornamental foliage. These are the most popular ones that come to mind right now: salvia, penstemon, rudbeckia, echinacea, peony, phlox, yarrow, hosta, hellebore, campanula, aster, vinca, sedum, columbine, heuchera, and day lilies.
When to plant perennials
Perennials can be planted any time the soil is workable, but spring and late summer into early fall are best. The moderate temperatures, warm days and cool evenings, help plants settle in with less stress.
Be sure to check your growing zone so you know when your first frost typically hits. You’ll want to plant early enough to give your perennials at least 5–6 weeks to get established before colder weather arrives.
Summer planting is fine; it can require a bit more attention. The high temperatures can cause stress, and you’ll need to water more often while plants are getting established.
When I gardened in the Bay Area and in Santa Barbara, I planted perennials year-round, except during long stretches of winter rain. Now that I’m in the Southern Arizona desert, it’s a different story. Our summers are extremely hot and sunny, so I avoid planting perennials from May through September.
Adding nutrients
This is always a good idea, and something I do every time I plant. Adding amendments and mixing them into the soil in layers as you plant helps nourish it and gives roots what they need as they grow into the native soil. I also like to top dress after planting. It’s an easy way to feed the soil even more and helps keep moisture around the top of the root ball, which is helpful in warmer weather.
When I gardened on the California coast, I used a mix of local compost, worm compost, and chicken manure. Here in the desert, I use a local soil builder from the farmers’ market made up of worm castings, straw, wood chips, and compost.
How much you add depends on your soil composition. Loamy soil usually needs less, while sandy soil benefits from more to help hold moisture and nutrients.
Your goal is enriched, well-draining soil. It’s always a good idea to check what compost/amendments work best in your area and for the specific plants you’re growing. Dr. Earth offers an all-purpose compost, which you can find at some big-box stores and nurseries.
Preparing the planting hole
Getting the planting hole right makes all the difference in how well your perennials take off. You want to dig a hole as deep as the rootball and at least twice as wide.
I work the soil at the bottom to break it up a bit and improve drainage. Remove any roots or larger rocks that might be in the soil to improve drainage and remove obstructions like larger stones.
Always thoroughly soak the hole before you plant.
Rootball preparation
This step is important because you want to encourage the roots to spread into the surrounding soil without too much effort.
If the root ball is loose, a gentle massage with your fingers will do. If it’s moderately tight, loosen it a bit more firmly to free up those roots. For severely pot-bound perennials, don’t just massage, use pruning shears or a knife to cut an X across the bottom of the root ball. You can also make a few vertical cuts along the sides.
This helps the roots grow outward rather than circling as they did in the pot.
Always give the plant a good soak in its grow pot before planting. It helps to lessen the chance of transplant stress.
How to successfully plant perennials: step by step
First of all, make sure the perennials are well watered.
You don’t want to plant perennials that are dry and stressed. If you buy your plants days before planting, be sure to keep them well watered and out of a hot, sunny spot where they could dry out quickly.
Dig the hole. Thoroughly soak and let the water absorb in.
If you’re in a climate where it rains often and the soil’s already wet, you can skip this step. See the “planting hole” section for more info.
Add in a few handfuls of compost in the bottom of the hole and water again.
I use a local one that works best in our soil, but Dr. Earth All Purpose Compost is also a good choice if you don’t want to make your own blend or don’t have access to one where you live.
Layer the compost as you plant. How much compost depends on soil type. Roots naturally grow toward nutrient-rich areas, so layering compost will guide the roots outward and into the native soil. See the “adding nutrients” section for more info.
Squeeze the pots gently to get the plant out.
If it’s being difficult, then gently step on the pots. You’ll see me demonstrating this in the video. 99.9% of the time, this works like a charm.
Most perennials have a tight and extensive root system.
Because of this, you’ll want to loosen the root balls a bit for the roots to spread more easily – give them a gentle massage. The roots at the bottom may be especially tight, so you want to pry them apart a bit. See the “rootball prep” section for more info.
Now you can put the plants in the holes.
Turn them so their best sides face out.
Next, fill in the holes with native soil and compost layered in.
Water as you go. Take out any more roots or rocks that might have been missed.
In the top 2 or 3″, sprinkle in a few handfuls of worm compost.
This is optional, but worm compost (sometimes called worm castings) is my favorite amendment.
Cover the top of the rootball with native soil, then topdress with an inch or two of compost.
Lastly, water your perennials well.
Care after planting
It’s best not to plant your garden and then head off on vacation a couple of days later! Keep an eye on your new plants to make sure they’re settling in without too much stress.
Give your perennials a good, thorough watering right after planting, and be sure to keep them watered while they’re getting established. Consistent moisture during this time helps them develop strong, healthy root systems so they can really thrive.
For the first few weeks, pay close attention to watering. How often will depend on temperatures and rainfall. As a general guide, water every 2–4 days in spring, daily in summer, and every 3–4 days in fall.
And don’t forget to deadhead by removing spent blooms to encourage more flowering later on.
Transplanting perennials
I’ve done this many times, even moving a plant just a few inches the very next day!
Before you transplant, make sure the plant is well-watered and not stressed. Try to do it during a cooler part of the day, like morning or early evening. Dig carefully to get as much of the root ball as you can. The more roots you keep, the easier it is for the plant to settle in.
Dig a new hole about twice as wide as the root ball. Fill the hole with water and let it drain through. If the soil is extremely dry, fill and drain again. Set the plant at the same depth it was growing before, then backfill with a mix of native soil and layered compost as you go. Water it in well to help everything settle.
Keep an eye on your transplant for the next few weeks and water regularly while it gets re-established.
It may look droopy for a few days—that’s normal. It should bounce back and keep growing.
Planting perennials in pots
Planting in pots is often easier because the soil mix is lighter and easier to work with. Be sure to use a mix that’s made for containers and suited to the types of perennials you’re planting.
Most of what I’ve covered in this post applies to planting in pots, with this other exception. You won’t need as much compost, since potting mixes usually already contain some nutrients and amendments.
Make sure your pot has drainage holes, as perennials don’t like to sit in soggy soil.
Also, pay close attention to spacing. Perennials get bigger than annuals, so give them room to grow. For example, in a 20″ pot, you wouldn’t want to crowd in three salvias and two penstemons—your plants will do much better if you give them room to grow!
Planting Perennials FAQs
Can I plant perennials when they’re actively blooming?
Many perennials are sold in bloom. Yes, you can, though they may drop some flowers due to transplant stress, especially in the heat. Not necessary, but if you want to help the plant focus energy on developing strong roots rather than flowers, remove blooms and buds after planting. The plant recovers quickly and often reblooms later in the season once further established.
Should I fertilize my perennials immediately after planting or wait?
Let the plant settle in. I never fertilized perennials because I had success by adding compost at planting time, and then applying it every year or two after that if needed.
If you do want to fertilize, it’s best to wait at least six weeks after planting. New perennials don’t need fertilizer while they’re getting established, and too much too soon can burn those tender young roots as they begin to grow out into the native soil.
Can you plant perennial plants in the heat of summer?
Yes, but it takes a little extra care. The heat can stress new plants, so it’s best to plant early in the morning or later in the evening when it’s cooler. Water them well before and after planting, and keep the soil evenly moist for the first few weeks. Adding a layer of compost or mulch on top helps hold in moisture and keep the roots cooler.
A heads up: When I gardened in the Bay Area, I planted year-round except during prolonged periods of winter rain. The same was true when I lived in Santa Barbara. I now live in the Southern Arizona desert, where summers are extremely hot and sunny. I don’t plant perennials here from mid-May through mid-September.
How long does it take for perennial plants to settle in and start growing well?
It depends on the season, but most perennials take a few weeks to settle in. It can take a full growing season for the roots to really get established. In year two, you’ll see more growth and more blooms, and by the third year, most reach their full size and put on a big ‘ole show!
Can you move or replant perennial plants after they’ve already been planted?
Yes, you can. I’ve done it many times. Most perennials handle it just fine. See the “transplanting perennials” section for more info.
Be sure to check out our outdoor gardening category for more helpful posts!
Video guide (planting salvia, a very popular perennial)
Conclusion: Perennials are a wonderful way to create a garden that gets better year after year. With a bit of care, they’ll reward you with color, texture, and dependable blooms for many seasons.
Taking the time to plant perennial plants properly really does make all the difference. From choosing the right spot to giving them a good start in the soil, these simple steps help set your plants up for long-term success.
Once you get the hang of it, you’ll find it’s easy to plant perennial plants. You can sit back and enjoy your healthy, thriving garden full of beautiful perennials!
Happy gardening & thanks for stopping by,

- About the Author
- Latest Posts

Nell, the founder of Joy Us garden, was born into a gardening family and grew up in Connecticut’s countryside. After living in Boston, New York, San Francisco, & Santa Barbara, she now calls the Arizona desert home. She studied horticulture & garden design, working in the field all her life. Nell is a gardener, designer, blogger, Youtube creator, & author. She’s been gardening for a very long time & wants to share what she’s learned with you.